Description: War Thunder is a next generation military MMO game dedicated to...

P First of all, it is worth deciding what kind of repair you need: cosmetic or major Cosmetic repairs include new wallpaper, ceiling painting, etc. Cosmetic repairs are recommended every five to seven years. Overhaul also involves the replacement of doors and windows, plumbing, tiling floors and walls with new tiles, replacing electrical wiring, and more.
It is worth remembering that the peak of repair and construction work occurs in July - August. At this time, most companies are experiencing a shortage work force, break deadlines, arrange emergency jobs, inflate prices for services. Therefore, it is preferable to renovate an apartment in late April - early May. The disadvantages of winter repairs are associated solely with the technological problems of construction - the inability to effectively ventilate the room when low temperatures etc. The builders believe that the repair of an apartment should begin with the fact that the owner collects things and leaves. This is reasonable, even if you have to rent an apartment during this period. First, things, especially equipment and expensive furniture, will remain in good condition, secondly, people will live in normal conditions, and not in clouds of gypsum dust, without light, with blurry ceilings, broken walls and a dismantled toilet bowl. Thirdly, according to statistics, 10% of families who decide not to leave the apartment during repairs, as a result of domestic troubles and disputes, break up without waiting for it to be completed. Fourthly, the builders will be spared from new "brilliant" ideas and, fifthly, the terms of work will be significantly reduced due to the parallel repair of all rooms.
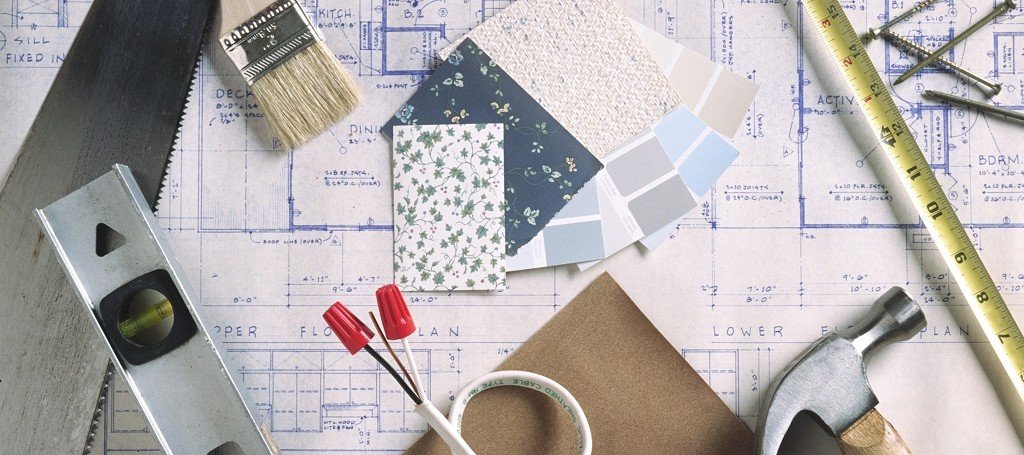
Having decided on the goals and objectives, try to draw what you would like to see in different parts of your apartment. The simplest freehand sketch is suitable - the main thing is that it helps you decide on desires and correlate them with reality.
To begin with, let's try to imagine what the layout of the apartment will look like. Let's measure the dimensions of each of the rooms, and then, take a sheet of paper in a box and draw a room to scale (view from the top) along with doors and windows. Next, we measure the furniture, and also draw it to scale on another sheet of paper. We write words on them: wardrobe, bed, table, etc. All this is cut out with scissors, and superimposed on the drawing with the dimensions of the room.
By moving furniture on a piece of paper, we more clearly imagine the future room. Do not forget about the width of the passages to the doors, do not leave them too narrow.
Estimate: to draw up an estimate for our repairs, you will have to work hard. The more information you learn about prices for materials and services, the less financial surprises you will end up with.
The sequence of repair work:
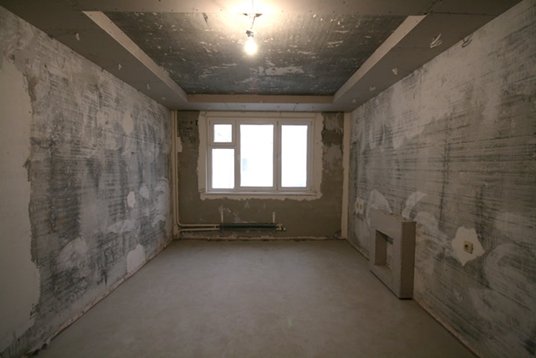
Where do renovations begin? For dilapidated apartments - from the demolition and dismantling of obsolete walls and partitions, the removal of coatings from walls and ceilings. This is one of the dirtiest parts of the renovation. In many old houses, good parquet has been preserved. A plastic film covered with hardboard on top can save it, but in any case, the parquet will have to be sanded after the repair of the apartment. If the thickness of the coating has greatly decreased as a result of repeated scraping, it is unlikely to endure another renewal operation.
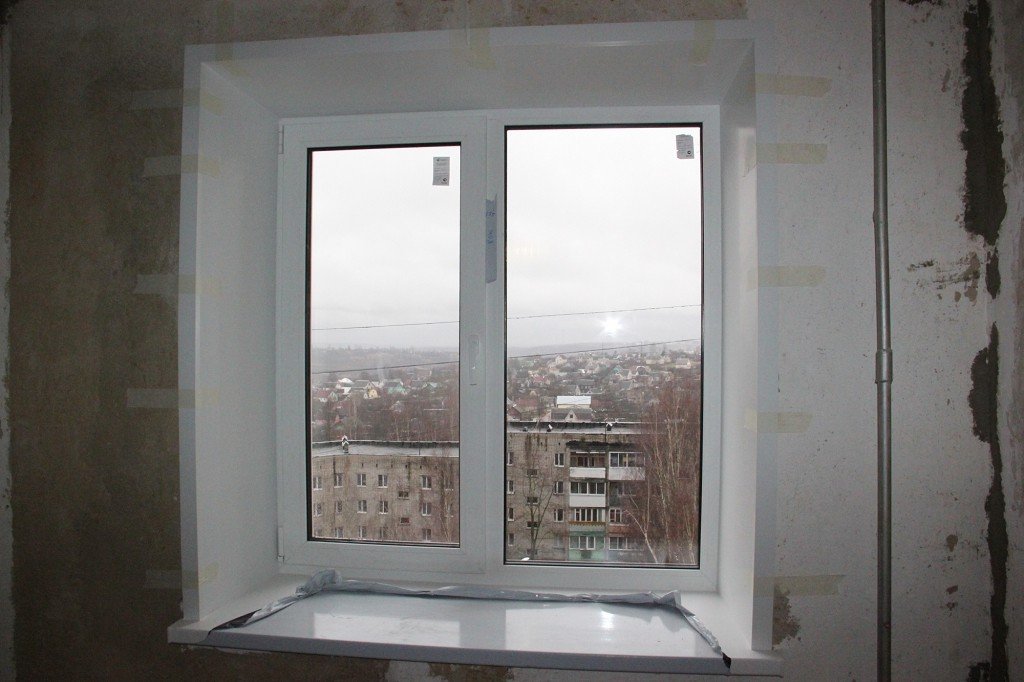
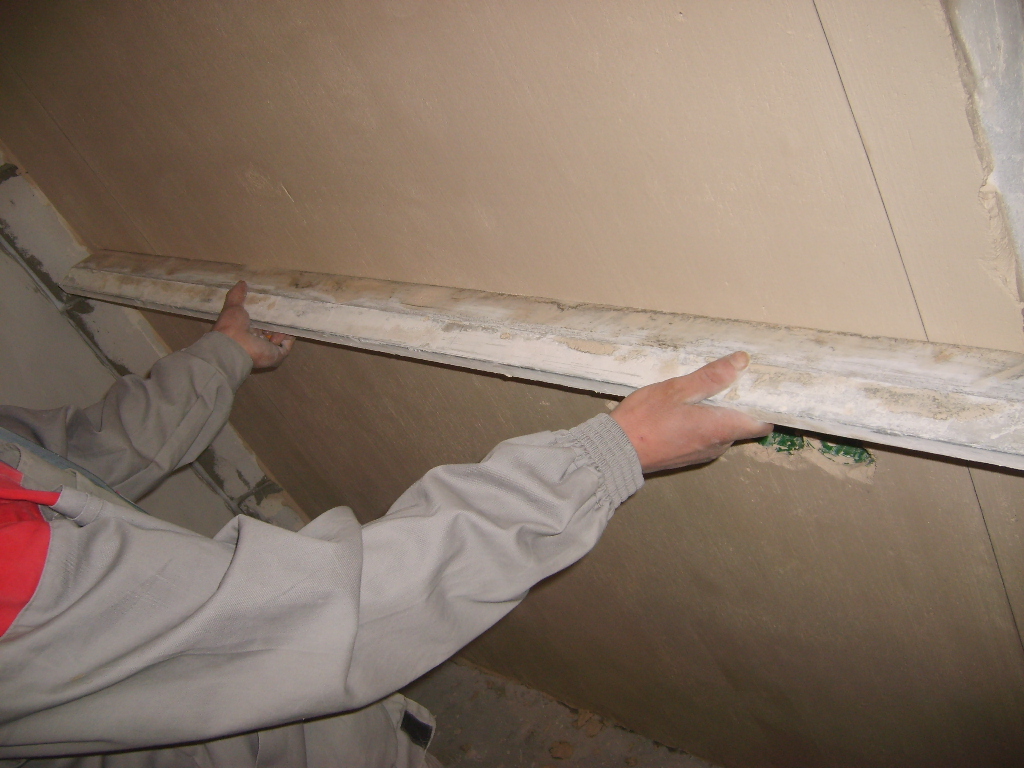
The most dusty are the processes of replacing (if it is planned) window blocks and installing window slopes and window sills. This must be done immediately, since subsequently the appearance of dirt and dust should not be allowed, and during painting works it is generally forbidden to open windows (large differences in temperature and humidity are unacceptable). After installing windows and window sills, they must be immediately packed with plastic wrap, and the window sills should be covered with hardboard so as not to scratch.
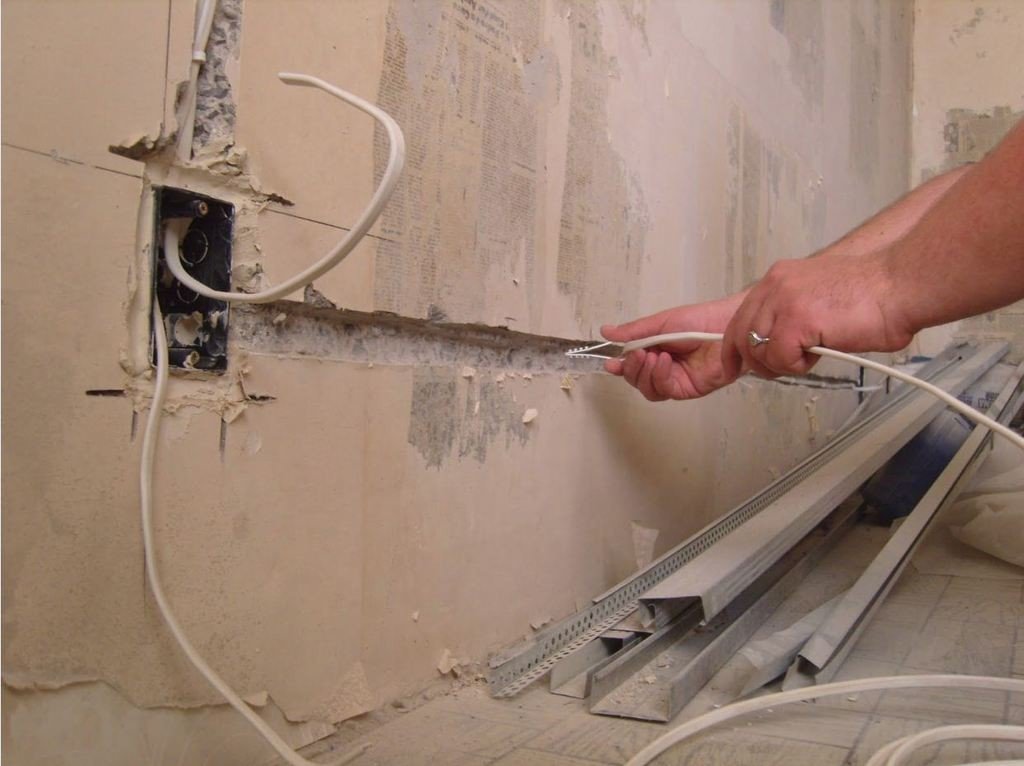
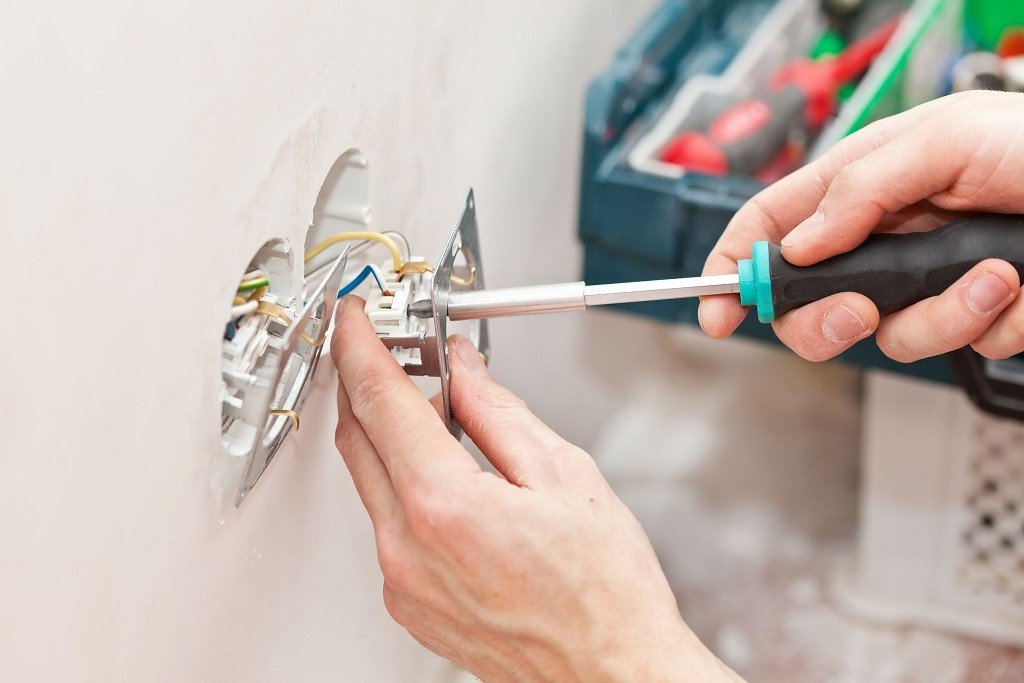
You can start with electrical. Decide where you need to install additional sockets, and make a wire under them, but do not install the sockets themselves yet and do not connect them to the shield. In the kitchen, it is desirable to install more sockets (TV, receiver, food processor, microwave oven, refrigerator, gas stove, extractor hood, washing machine ...). ( Washing machine connected with a three-wire cable). All this wiring must be carried out with a thicker wire, depending on the load, and connected with an additional wire to the electrical panel. In the corridor, it is also necessary to provide sockets for a telephone, a vacuum cleaner ... and also to pass an antenna cable (you can install a crab) to the right place.
Wiring can be done in the walls or on the floor. For electrical safety and reliability, the wiring is pulled inside metal pipes that protect it from external damage by a drill. This method allows you to replace the entire wire without opening the walls and floor. In order to have tugging wiring, a special wire should be laid in the pipes. But this point must be discussed at the conclusion of the contract.
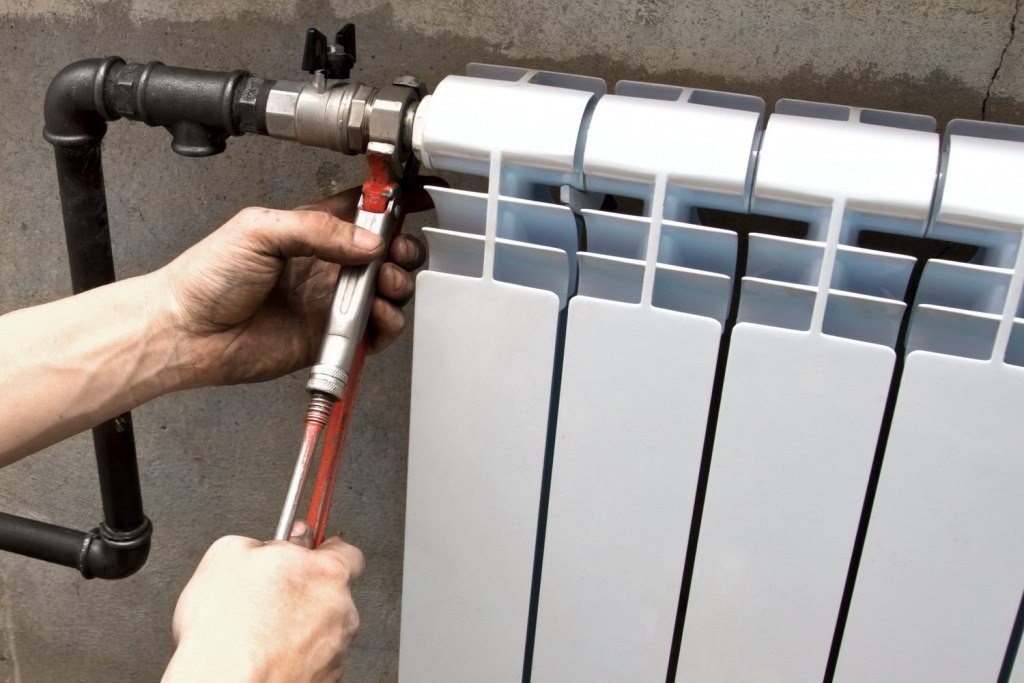
If you change heating radiators, then you should think about where else you will have to use welding, so as not to return to this issue. Here, at this stage, you will encounter crumbling walls, dust and debris.
After that, you can start leveling the walls and floors. It is advisable to pierce the joints of the wall panels with a screwdriver and tap, for the presence of voids. If you find any, be sure to fix them. This will improve sound insulation and keep the heat in the house. The corner of the floor and walls, you must try to align well. The fit of the plinth will depend on this, otherwise gaps will be guaranteed. After the walls are leveled, you can start installing sockets and switches.
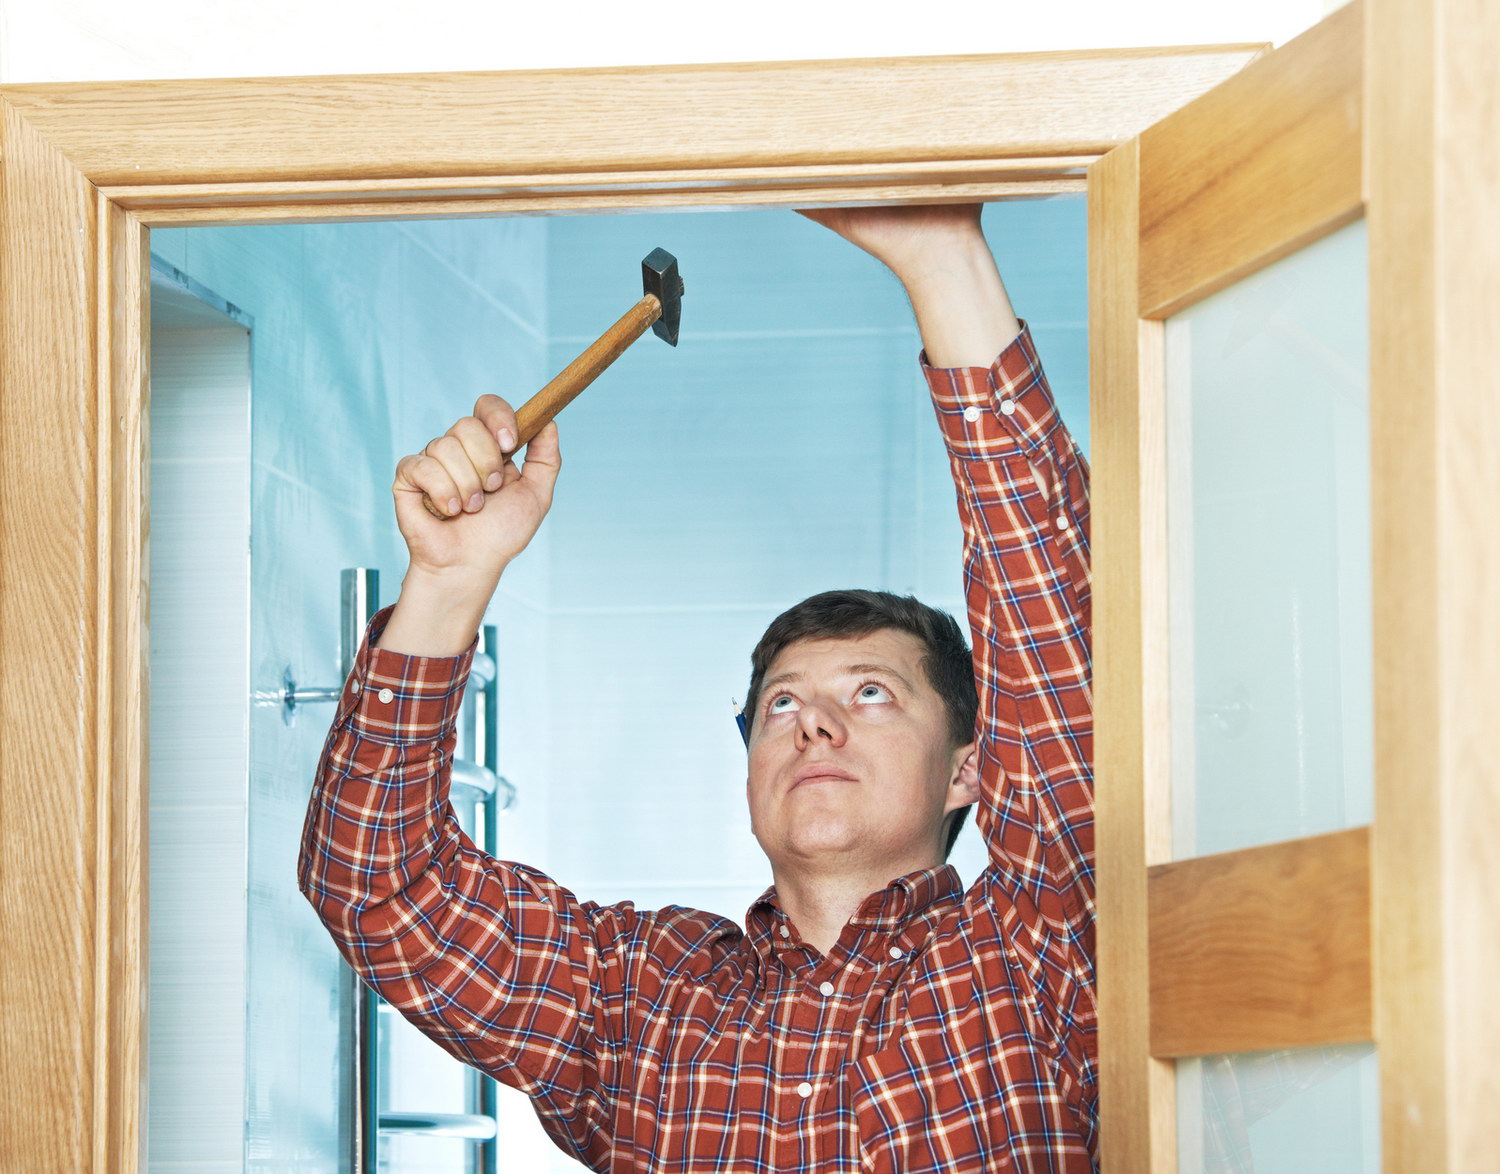
Next, we proceed to the replacement of doors, window sills and windows. When the walls and floors are aligned, the doors can be installed more accurately, while with uneven floors, you can make a mistake with the size from the floor to the bottom of the door. The door itself after installation can be removed from the hinges and removed for the duration of the repair or packed in plastic wrap to protect it from damage.
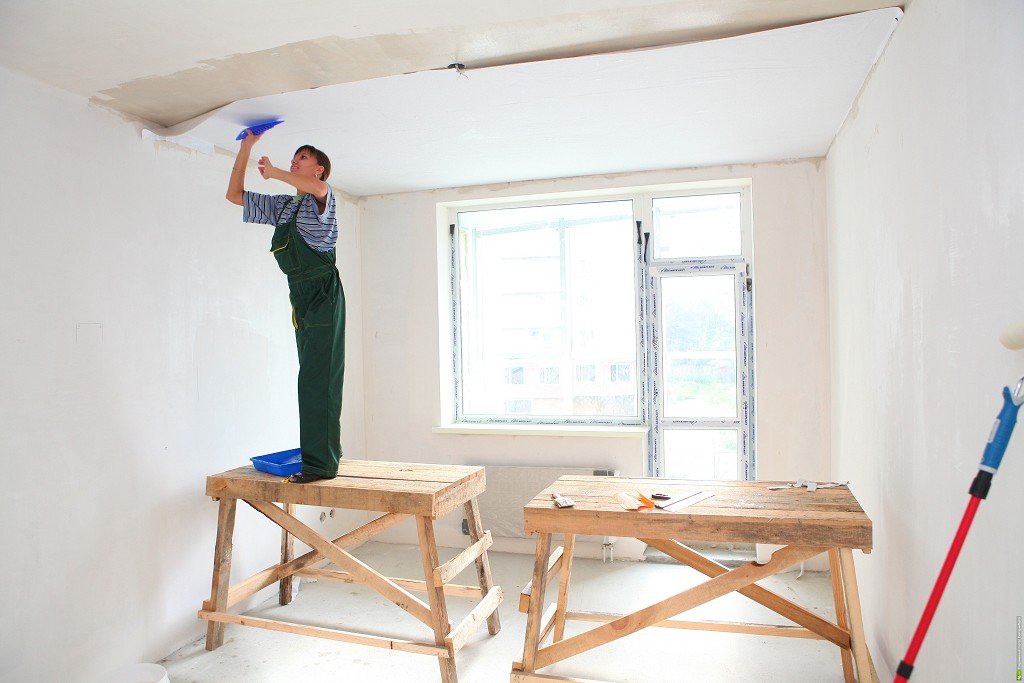
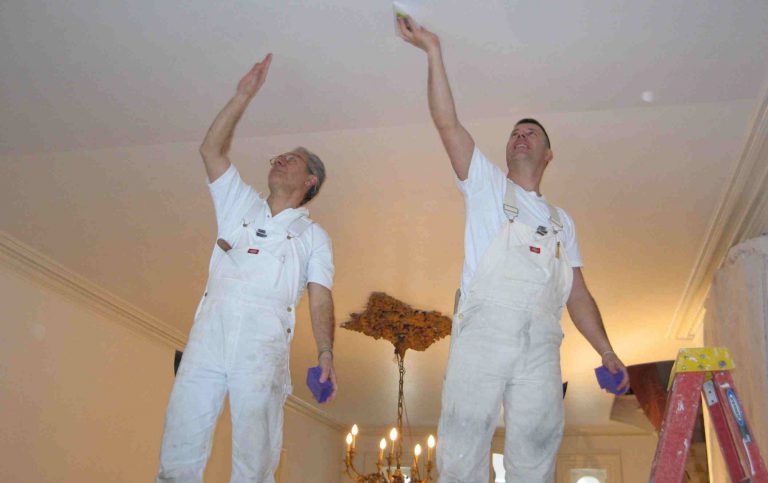
Plastering and whitewashing the ceiling
If it is planned to lay laminated parquet or parquet board in the rooms, ordinary wallpaper (not for painting) is glued first. If the parquet is piece, first lay the flooring, cycle it, cover it with one layer of varnish, paste over the walls with ordinary wallpaper, after which the parquet is covered with subsequent layers of varnish (depending on the quality of the parquet and varnish). Such a sequence of work is associated exclusively with sanding, which produces a large amount of dust. Despite the fact that good sanding machines are equipped with a vacuum cleaner, dust settles on surrounding objects, including walls. It is very caustic and does not wash off well, therefore, in order not to spoil the wallpaper, they are glued after sanding, and so that the parquet does not absorb excess moisture, it is covered with one layer of varnish.
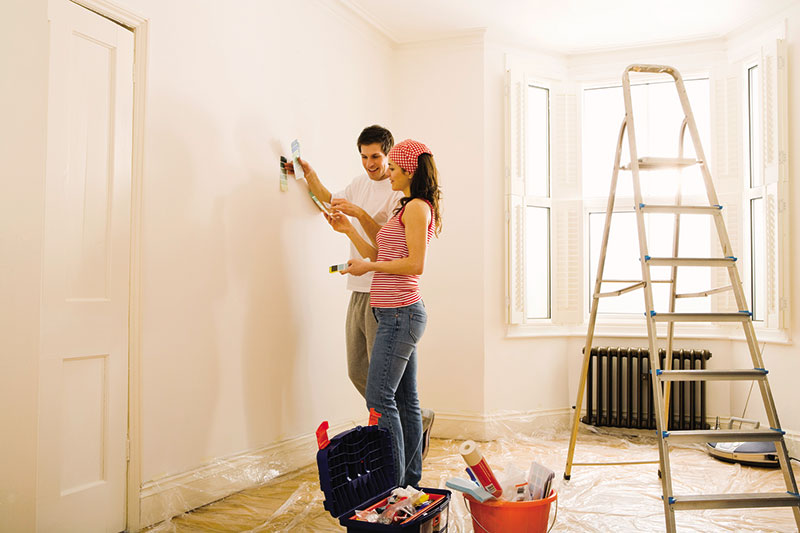
Gluing wallpaper
When pasting wallpaper, turn off the light in the shield on the landing, remove the covers from the sockets and switches. We cut out the wallpaper for sockets and switches, and then fasten the covers and turn on the light. To be sure that there is no voltage in the outlet, plug in, for example, a transistor receiver. From the top of the ceiling, you can draw a marking line with a pencil along which the wallpaper will be pasted. All whitewash below the line must be washed off, otherwise the wallpaper will fall behind in this place. Remember that if whites remain on the wall (spots of glue or lime paint), be sure to clean them off, because wallpaper does not stick to painted areas.
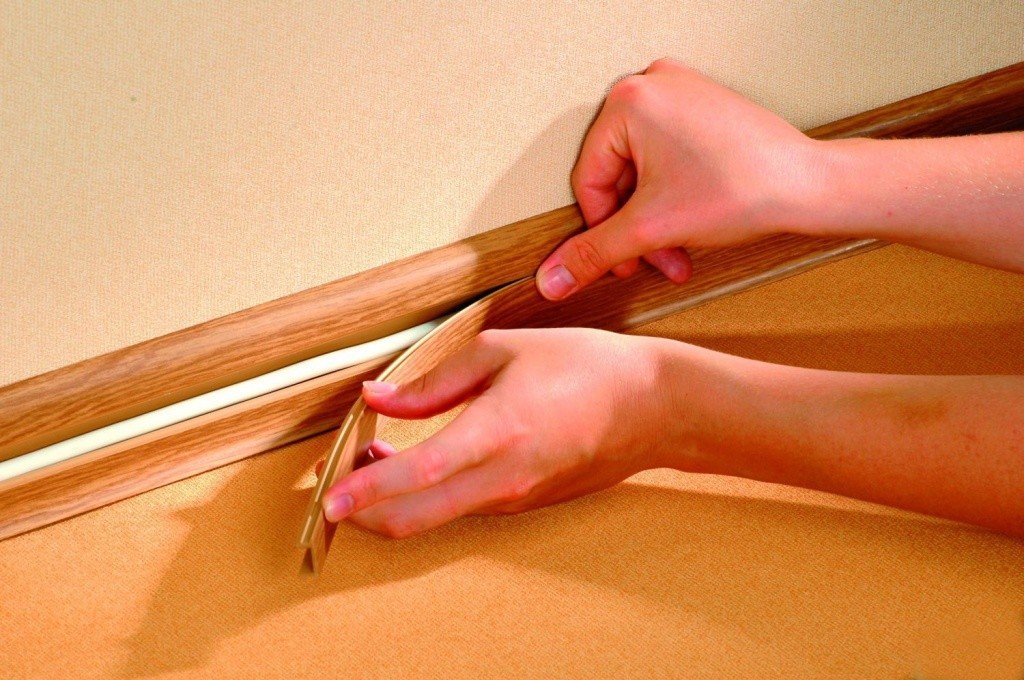
We fasten the plinth and platbands, thereby closing the ends of the wallpaper. We drill the plinth to the wall and fasten it with screws. It must first be adjusted, then unscrewed, covered with stain and varnish, and only then screwed. If you cover in place, you can stain the wallpaper. Antenna and telephone cables can be passed under the plinth.
The bathroom and toilet should be the very first thing to do. Install and replace or redo plumbing. Tiles on the walls can be laid only after welding. Otherwise, even the smallest spark will burn through the top layer of the tile, and the tile will be damaged.
A balcony or a loggia can be done as a last resort, since there, you can store the remnants of materials, and install a workbench and vice. All this will be needed during the final cycle of work. If during the renovation you live in this apartment, then you need to start from the farthest room, gradually moving towards the kitchen.
The very first thing to do before you start renovating any room is to understand what we want to achieve as a result.
Ask yourself a few questions:
Think through the details appearance premises can be independently. If this is difficult, you will have to contact a professional designer. This stage should not be postponed until later, they say, we will start the repair, and then we'll see what happens. Much depends on how we want to see the room - from the choice of materials to the execution of the different kind works. It's better to think things through beforehand than to redo them later.
So, the future view of the room is thought out. Before you start any manipulations in the room, you need to take the following steps.
Tip: building materials should always be bought with a small margin.
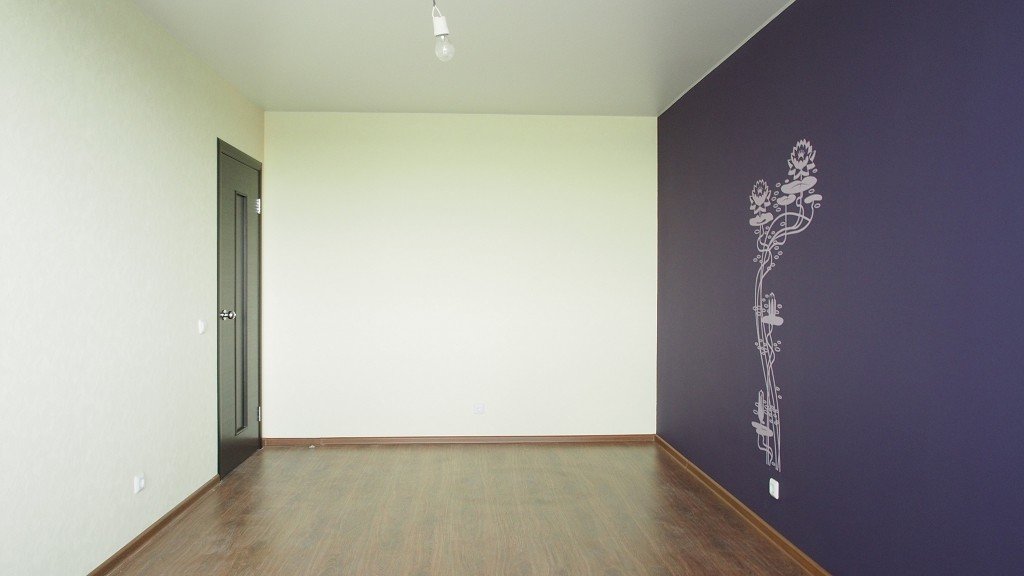
Consider the option of a major overhaul in the living room, which involves not only changing wallpaper, baseboards, updating paint on the ceiling and walls, but also replacing windows, doors, electrical wiring and other large-scale events.
Before you start the repair itself, you need:
The plan for the repair of the room is drawn up individually, depending on what work will be carried out. In order to compose it, you need to know where to start. Experts recommend an approximate sequence of actions that does not have to be strictly adhered to, but must be kept in mind.
Making repairs in a room from start to finish is a rather long, laborious task, requiring a variety of skills and, in addition, patience. But when arranging furniture in a renovated room, you will realize with satisfaction that it was worth it.
Repair is a delicate matter, and also very costly, both financially and psychologically. Therefore, the question of where to start should be approached with all possible seriousness. Having correctly drawn up a work plan, you will not only save your strength, but you can also save on the purchase of consumables.
First, you need to decide on the future design of the room. You should never start repairs at random, as in this case the result of your work may be far from ideal. If you are not confident in your abilities, it would be useful to call a professional designer: it will not take much time and money, and you will definitely know in the room.
If you are going to glue the wallpaper, then remove all switches, sockets and other "tinsel" in advance, which is very distracting and annoying in the process. It is advisable to disconnect the room wiring from the network, and seal the places of sockets and other devices with adhesive tape and mark them somehow.
This is done to prevent electrical shock and water-based adhesive from flowing into the cavity of the switches, which is fraught with a short circuit and fire. When thinking about what is in the room, do not forget about the incredible variety of modern finishing materials: maybe you should use something a little more original than simple wallpaper? 
Before you never miss the opportunity to familiarize yourself with the status of the wiring. Our compatriots often postpone this issue for later, as a result of which very solid houses are burning, the electrical wiring in which “celebrated” another anniversary.
If possible, try to do a thorough renovation of the room! Where to start it? As a rule, experts advise to level the floor, renew the flooring and make sure that there are no new gaps behind the decorative skirting boards. This is especially true of old wooden houses, where the problem of rodents and drafts is very acute. By the way, about wooden houses.
 In the case of them, the question of where to start repairing the room should not be, since the first thing to worry about is the insulation of the home. This process can be combined with the alignment of the walls, using drywall for this purpose. Since it is necessary to use a crate for its installation, not only a heater can be placed in its cells, but also various kinds of communications, which otherwise can spoil the appearance of the room.
Speaking about which room to start the repair from, choose the most difficult rooms: a bathroom, a toilet or a balcony in case of work on its insulation. These places will not only take a lot of your energy, but will also require constant cleaning and removal of mountains of old building material. If you carry it through the already renovated rooms, then you can not do without damage. In addition, it is somewhat unreasonable to drag broken bricks and old plumbing over a fresh laminate.
If there is no question of such global transformations in the apartment, start the repair from the room most remote from the entrance to the housing, gradually moving to the nearest premises.
Renovating an apartment is a painstaking process that requires taking into account all sorts of little things. It's about about a thorough plan of action, calculation of estimates, selection of materials, tools and inventory, without which repairs are impossible. Therefore, the question of where to start repairing an apartment with your own hands is relevant.
You can entrust the task to a master or a team of repairmen. As a result, issues will be resolved without your participation. In an effort to save money, people make repairs in a new building or resale on their own. If you are thinking about saving money, home renovation tips will come in handy.
I will not delve into every detail, otherwise the discussion will drag on. Instead, I will focus on the main tips. After reviewing the material, you will learn where to start the repair so that it is completed faster, because success depends on the correct sequence of actions.
Video instructions
With the help of the instructions, you can easily prepare your home for other repair and finishing work that will transform the interior. If you intend to use the services of a repair team, I recommend that you complete the preparatory stage yourself in order to save a tidy sum.
People who have become happy owners of an apartment in a new building are faced with a problem due to the need to make repairs. It is recommended to carry out repairs in new housing, taking into account various factors that are not known to everyone.
If you plan to tidy up a new home, I do not recommend using expensive materials to decorate the apartment. For several years, the structure is subject to shrinkage, as a result Decoration Materials deformed and covered with cracks. When making repairs, get ready that you will have to return to this issue in a few years.
Repair of an apartment in a new building depends on the structure of the building. In monolithic houses, apartments have a free layout, represented by free space limited by external walls. The arrangement of such housing is complex and large-scale, since during the repair it is necessary to act in accordance with building codes.
The rules prohibit equipping closed loggias with a heating system, dismantling ventilation ducts or transferring sewer riser without approval from the relevant authorities.
You can also buy housing in a panel house. Developers put apartments into operation with partitions and screed, which facilitate repairs. In some cases, apartments are equipped with wiring, piping and rough finishing. If you do not plan to dismantle everything, carry out the repair work yourself.
When equipping a living space in a panel-type house, keep in mind that the shrinkage of the building takes at least two years. Therefore, be sure to reinforce the walls using a mesh. I do not recommend laying tiles during the first repair. It is better to use plastic panels. The ceilings and walls in such apartments are covered with cracks at first.
Let's talk about the stages of repair in a new building. There is nothing difficult in this if you have certain skills and abilities. Otherwise, entrust the arrangement of housing to professionals.
Video tips
Now you have an idea of how to start repairing at home. The sequence of work is known. Choose the interior and style using thematic forums or magazines.
In conclusion, I will talk about savings. After preliminary calculations, a terrifying amount will turn out, but this is not a reason to worry. Such is the cost of living in a comfortable, cozy and renovated apartment. There is a way out of any situation. Instead of burning nerve cells in vain, think about how to save money. With the right approach, save a decent amount of money.
Use cheaper building and finishing materials. There are many solutions on the market that offer reasonable value for money.
Save on equipment. I don’t advise you to save on plumbing, electrical, ventilation and heating. After installing low-quality appliances, spend money on repairs or buying replacements.
Do it yourself if you're on a budget. If there is no time, look in the city for a team of repairmen who do not chase big profits and do not overcharge the cost of services.
To save money, follow these rules.
A limited family budget. It is difficult to attract contractors for repairs, the cost of whose services can be unbearable for a very wide segment of the population. The quality of the work of such organizations often becomes a sphere of disputes and proceedings.
Repairing an apartment with your own hands will be inexpensive and will discard a number of such problems. Although it will require the owners of a certain skill, perseverance and physical strength.
Preparation for repair is always associated with great creative search. Preliminary fantasies and design wishes often rest on the cost of materials and the complexity of the proposed work. Repair planning begins with bringing all the ideas in line and financial opportunities. After that, you can begin the real preparation for the repair with your own hands:
It is difficult to do repairs with your own hands in all areas of the apartment at once. There is a problem with the release of rooms from furniture, which will interfere with the work. And the budget will not be able to cover all needs at the same time.
The most correct solution would be to perform repairs in a certain sequence. It is necessary to start from distant rooms so that construction debris does not then fall into the renovated rooms.
At the first stage, it is necessary to clean all surfaces of old coatings:
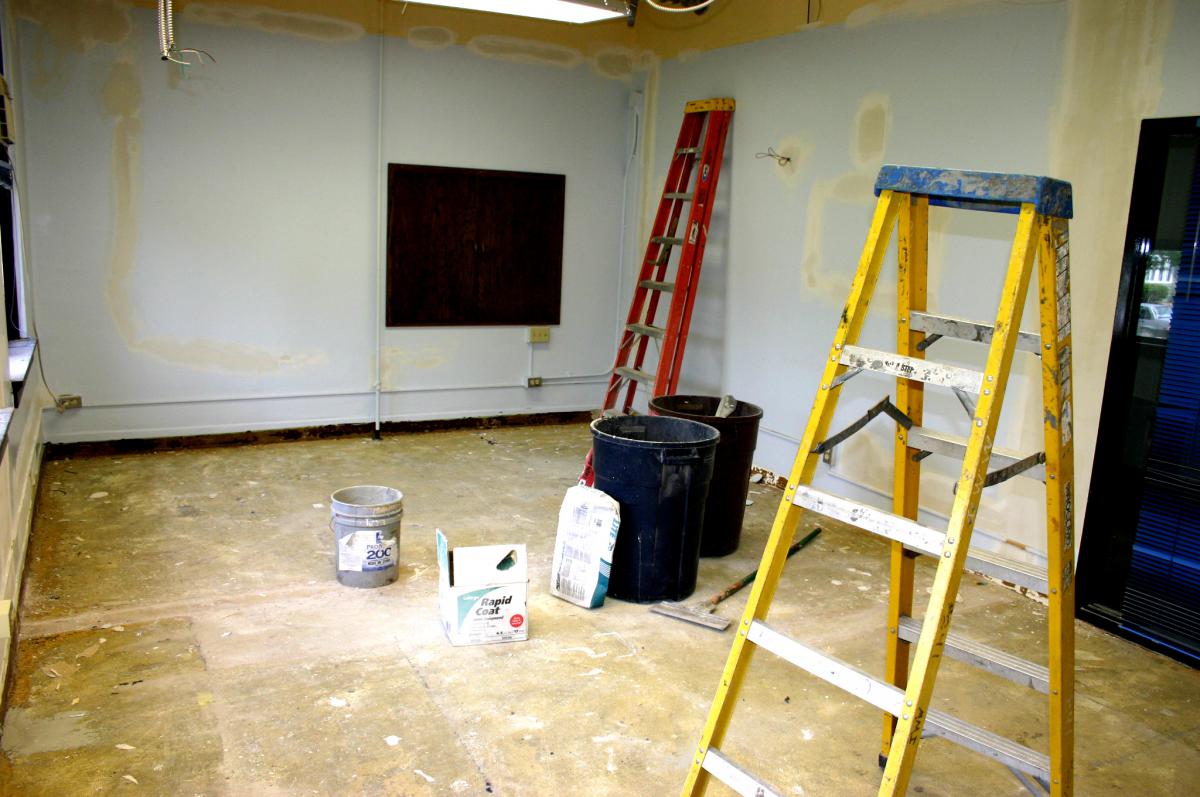
Cleaned ceilings and walls of the apartment should be carefully examined. Some sections may have defects that were laid during construction. It is desirable to remove them. It is especially difficult to remove poor laying of ceilings. Strongly protruding parts can be removed with a special grinder, and concave parts can be removed to the level with solutions.
Surfaces can be leveled quickly and inexpensively with mortar. To do this with your own hands, metal beacons are attached to the wall, which are set according to the plumb line and level. Focusing on the beacons, the surface is leveled with a solution. For better binding of the solution to the wall, a metal or nylon mesh is nailed.
Gypsum boards can be used to level the ceiling and walls. The installation of such plates is not difficult. Drywall is mounted quickly, and the result always exceeds expectations. The joints of gypsum boards are sealed with putty with a paint grid.
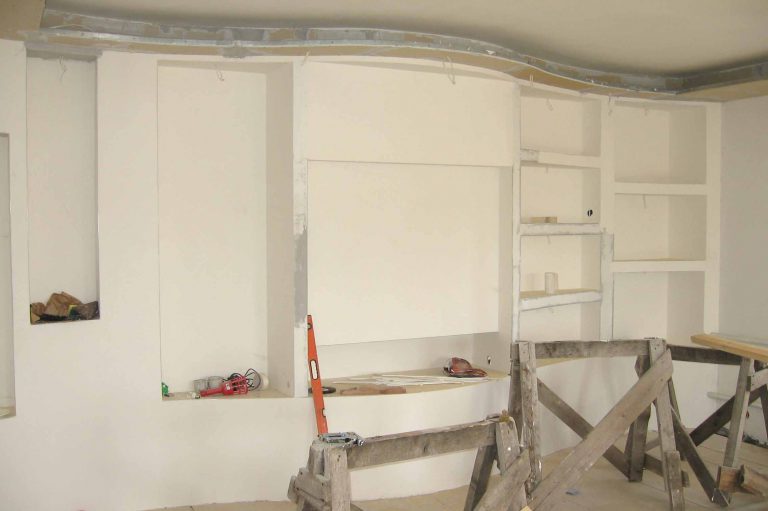
The only negative is that the installation of drywall will take away some amount of the usable volume of the room. But on the other hand, it is easily processed by any cutting tools.
During the preparation of the walls, it is necessary to devote time to electrical wiring, because there will simply not be a more convenient opportunity to add or move sockets. Replacing wiring, installing new switches, lamps and other electrical equipment in a convenient place - all this is done during this period.
For laying new wires, wall chasers are used, which cut a standard groove in the wall. A wire is laid in this strobe and fixed at certain distances with a solution. When the entire wire is laid, the strobe is sealed with a solution.
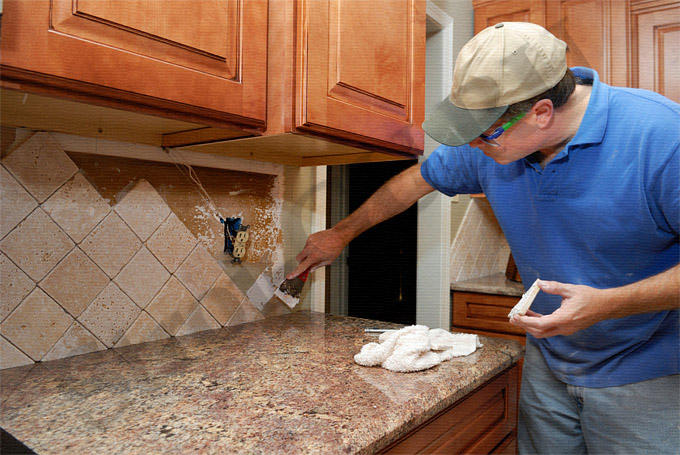
At the same stage, installation of equipment for ventilation and air filtration is carried out. This is especially true for kitchen hoods. If you decide to lay out tiles in the kitchen, then you first need to install all the fasteners for hoods, fans, wall cabinets and other kitchen equipment.
All plumbing work must be planned and executed. Replacement of pipes, toilets, bathtubs, installation of heaters and other equipment - all this falls on the second stage. It requires great physical and nervous effort. This is the dirtiest but necessary job.
At the third stage, a possible replacement of door and window blocks is usually planned. Replacing doors and door frames inside an apartment is not a big deal. It is more difficult to replace window blocks. After replacing windows, it is necessary to carefully seal all the cracks with insulation or mounting foam and make slopes. From the outside, install metal or plastic ebbs.
Do-it-yourself floor repairs are difficult. If the floors do not require radical intervention, then it is better to perform cosmetic repairs. But the poor condition of the floor requires the fourth stage to be entered.
Work with floors involves leveling it, adding sagging places or replacing the coating. This can also be done with your own hands, but consultation with specialists will not be superfluous. Linoleum, laminate, artificial parquet or parquet board - will allow you to quickly complete this repair.
Ceilings and walls during operation are able to absorb a lot of what they would not want to save.
Therefore, ceilings and walls are subject to sanitization:
If you put wallpaper on poor soil, they will very quickly show all the defects of the walls. This will reduce the level of repair quality and mood.
Description: War Thunder is a next generation military MMO game dedicated to...

"Titan Siege" is a large-scale online game on the theme of Scandinavian and ancient Greek...

Being an avid lover of German tank looks, I spent a lot of time...